Save custom Codable types in AppStorage or SceneStorage
Since iOS 14 we have two property wrappers for persisting state in SwiftUI: AppStorage and SceneStorage. AppStorage is usually used to persist some user specific settings and SceneStorage is designed for state restoration.
It's very easy to use these properties when we want to persist value types that they support out of the box, those are Bool, Int, Double, String, URL and Data. For example, we can save the user's chosen city in a weather app using AppStorage.
struct ContentView: View {
    @AppStorage("city") var city = ""

    var body: some View {
        TextField("Enter your city", text: $city)
    }
}
But we need to do a bit more work if we want to save a type that is not supported by AppStorage or SceneStorage by default. They both have initializers that accept a RawRepresentable where RawValue is of type Int or String. So we would need to add conformance to RawRepresentable to our custom type.
It's important to note though that we shouldn't be using AppStorage and SceneStorage as a replacement for a database, they are designed to save small pieces of data. But sometimes an app setting or a view state are represented by a custom type and this would be the use case described in this article.
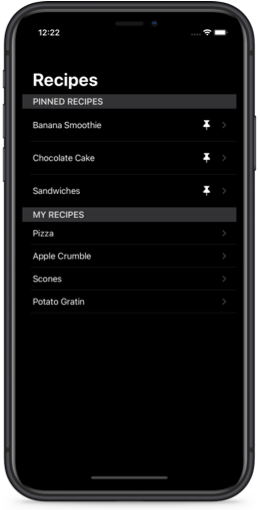
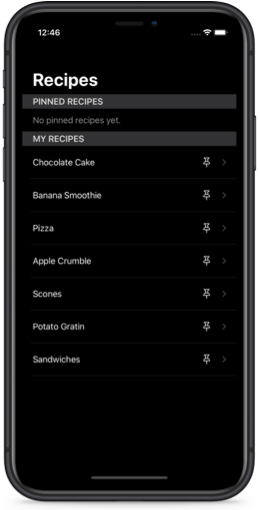
As an example, we will look at a recipe app where the users can pin up to 3 recipes to the top of the list.

The pinned recipes in our case are a user setting that should be persisted for the whole app, not per scene, so we will be using AppStorage. But the approach with RawRepresentable conformance can be used for SceneStorage as well.
Our custom type to be saved in AppStorage is an array of UUIDs which is Codable by default. You might need to add Codable conformance to your type manually.
typealias PinnedRecipes = [UUID]
Now we need to add RawRepresentable conformance to our custom Codable type. Remember, that AppStorage only supports RawRepresentable where the RawValue's associatedtype is of type Int or String. This means the rawValue property must return an Int or a String.
extension PinnedRecipes: @retroactive RawRepresentable {
    public init?(rawValue: String) {
        guard let data = rawValue.data(using: .utf8),
            let result = try? JSONDecoder().decode(PinnedRecipes.self, from: data)
        else {
            return nil
        }
        self = result
    }

    public var rawValue: String {
        guard let data = try? JSONEncoder().encode(self),
            let result = String(data: data, encoding: .utf8)
        else {
            return "[]"
        }
        return result
    }
}
In this example, we are extending Array with RawRepresentable conformance, which is generally discouraged in Swift. To suppress the warning, we use @retroactive. However, in a production app, it's better to declare a custom wrapper type, such as a struct, to avoid retroactive conformance.
Once our type conforms to RawRepresentable we can use it with AppStorage or SceneStorage.
struct ContentView: View {
    @AppStorage("pinnedRecipes") var pinnedRecipes = PinnedRecipes()

    var body: some View {
        List {
            Section(header: Text("Pinned Recipes")) {
                ForEach(pinnedRecipes, id: \.self) { id in
                    ...
                }
            }
        }
    }
}
You can use this approach to store a custom struct, dictionary, or even an enum with associated values, as long as the data size remains small. Since rawValue is a String, encoding and decoding large objects can introduce performance overhead, so this technique is best suited for lightweight data storage.
You an get the full code for this article on GitHub.


