Customizing macOS window background in SwiftUI
Customizing the appearance of macOS windows can help create a unique and polished user experience. One of the key aspects we can modify is the window's background. In this post, we’ll explore how to customize the background of macOS windows in SwiftUI, adjust the toolbar appearance, and remove the window title. These simple changes can make our apps look more modern and clean.
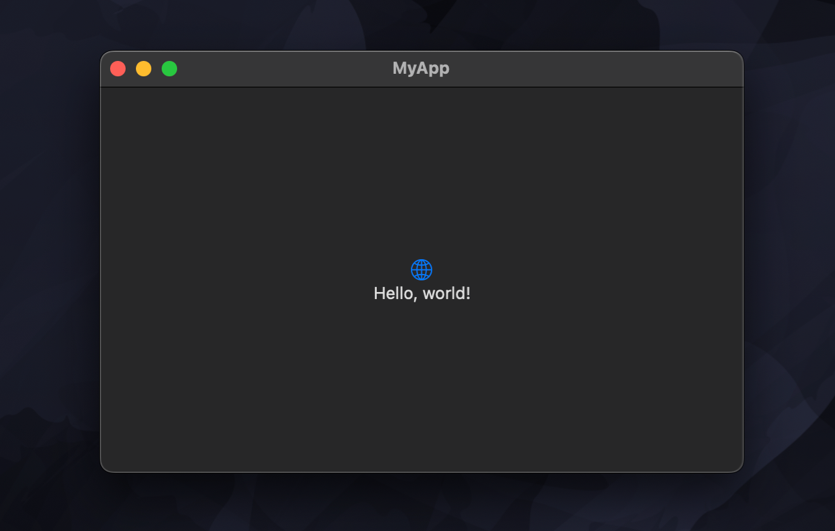
By default, macOS windows have an opaque background and a toolbar with its own background on top. Here's how a basic default window looks when we create a fresh SwiftUI app.
To customize the background of our window, we can use the containerBackground(_:for:) modifier. This allows us to pass a style for the background, setting the container parameter to .window. The style can be any type that conforms to ShapeStyle, such as a color, gradient, or material. For example, we can apply a translucent material to our window, which allows the desktop color to shine through.
  @main
struct MyAppApp: App {
    var body: some Scene {
        WindowGroup {
            ContentView()
                .containerBackground(
                    .thinMaterial, for: .window
                )
        }
    }
}
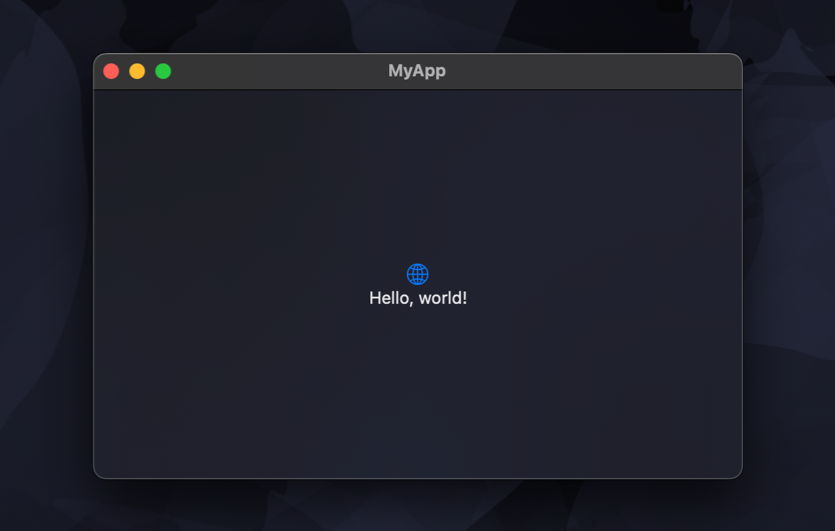
If we also want to remove the toolbar background, we can apply the toolbarBackgroundVisibility(_:for:) modifier to the contents of the window. We pass .hidden for the visibility parameter and .windowToolbar for the bars parameter, which will hide the toolbar's background.
@main
struct MyAppApp: App {
    var body: some Scene {
        WindowGroup {
            ContentView()
                .containerBackground(
                    .thinMaterial, for: .window
                )
                .toolbarBackgroundVisibility(
                    .hidden, for: .windowToolbar
                )
        }
    }
}
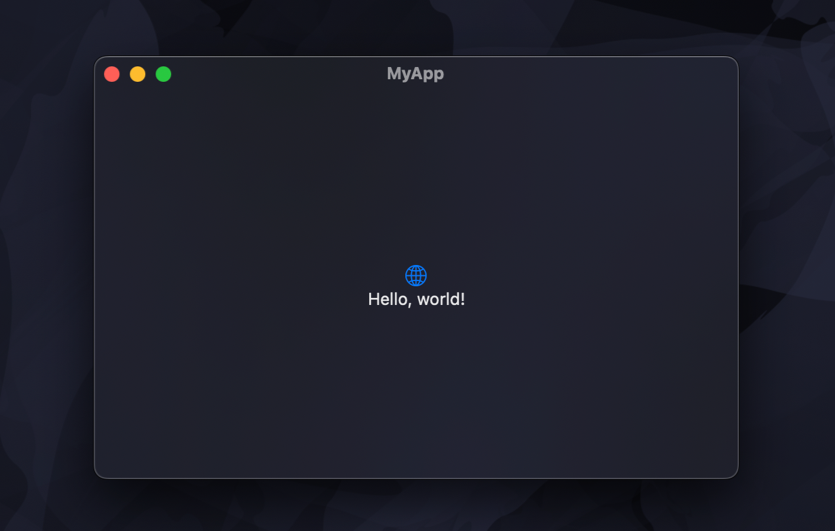
If we want to go further, we can remove the window title as well. This can be done either by adding toolbar(removing: .title) to the contents of the window or by applying windowStyle(.hiddenTitleBar) to the WindowGroup. The latter removes both the title and the toolbar background in one step.
@main
struct MyAppApp: App {
    var body: some Scene {
        WindowGroup {
            ContentView()
                .containerBackground(
                    .thinMaterial, for: .window
                )
        }
        .windowStyle(.hiddenTitleBar)
    }
}
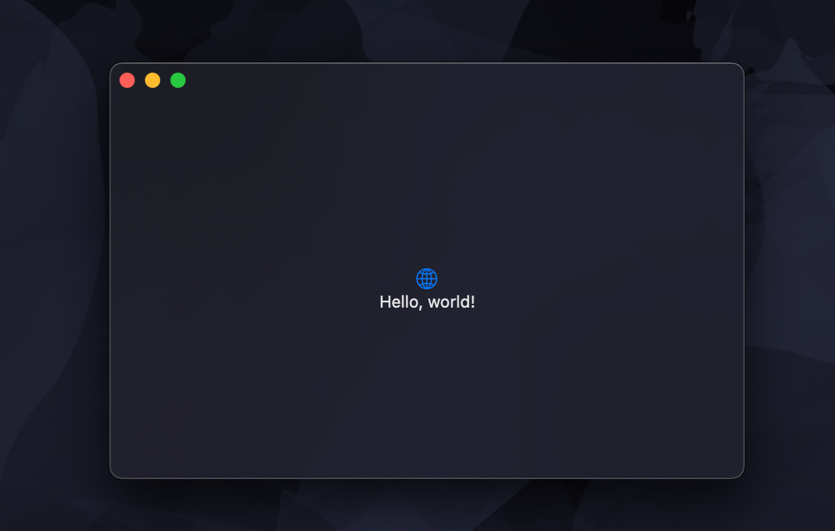
When there is no visible toolbar, it might be helpful to allow users to drag the window by clicking anywhere on the background. We can achieve this by applying windowBackgroundDragBehavior(.enabled) to the WindowGroup.
@main
struct MyAppApp: App {
    var body: some Scene {
        WindowGroup {
            ...
        }
        .windowStyle(.hiddenTitleBar)
        .windowBackgroundDragBehavior(.enabled)
    }
}
With just a few SwiftUI modifiers, we can adjust the appearance of macOS windows to better fit our needs. Customizing the background, toolbar, and title can help us create the design we're looking for in our apps.
If you want to build a strong foundation in SwiftUI, my new book SwiftUI Fundamentals takes a deep dive into the framework’s core principles and APIs to help you understand how it works under the hood and how to use it effectively in your projects.
For more resources on Swift and SwiftUI, check out my other books and book bundles.


