

Embedding a custom font into a macOS app bundle
We commonly use Apple system fonts in our apps, but sometimes we may need something custom for company branding or a specific design. For example, in my macOS word game LexiMorph, I needed a cleanly outlined typeface for the glowing base word, and the default system font didn’t work for what I had in mind.
To use a custom font in our UI, we need to embed it directly into the app bundle so we are not relying on that particular typeface being installed on the user's machine. This involves copying the font file into the project in Xcode, making sure it’s included in the built product, and then referencing it in code when styling our text.
The process of embedding a custom font in a macOS app is a little different from how things work on iOS, and it’s not particularly well documented. I decided to write up the exact steps that worked for me, both as a reference for myself and in case it helps other developers trying to add custom fonts to their Mac apps.
# Add custom font file to Xcode project
Imagine we want to embed a Google font named "Indie Flower" and use it in our app. We’ll download the font file and the accompanying license from Google Fonts, then drag both into our Xcode project and place them in a folder named "Fonts".
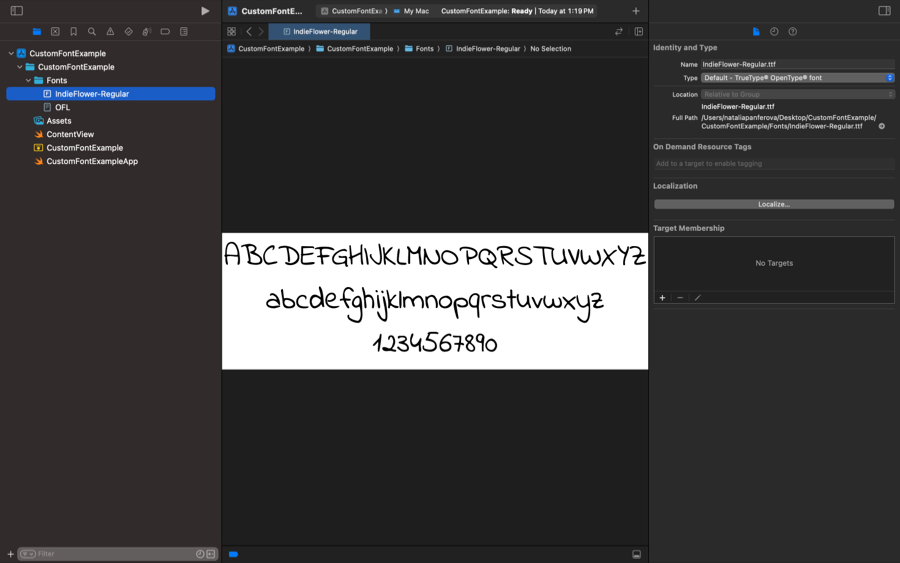
Notice that we’ll leave their target membership unchecked, as we’ll be adding them to the build using a separate copy step.
# Copy font files to application resources
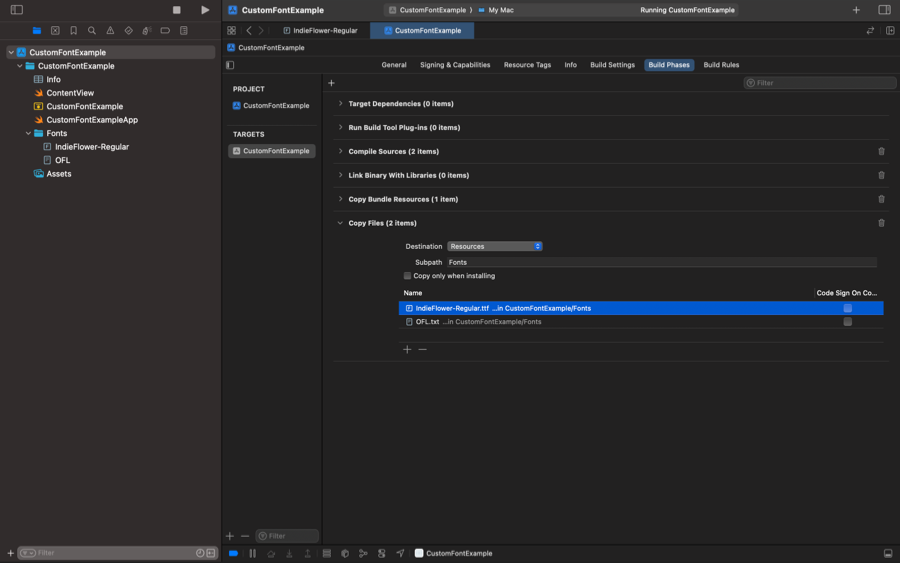
To make sure the custom font is loaded and accessible to our code, we need to copy it into the Resources folder of the app bundle. To do that, we’ll define a custom Copy Files build phase with the destination set to Resources and the subpath set to Fonts. Then we’ll add the font files from the "Fonts" folder in Xcode to that phase.
# Provide font path in Info.plist
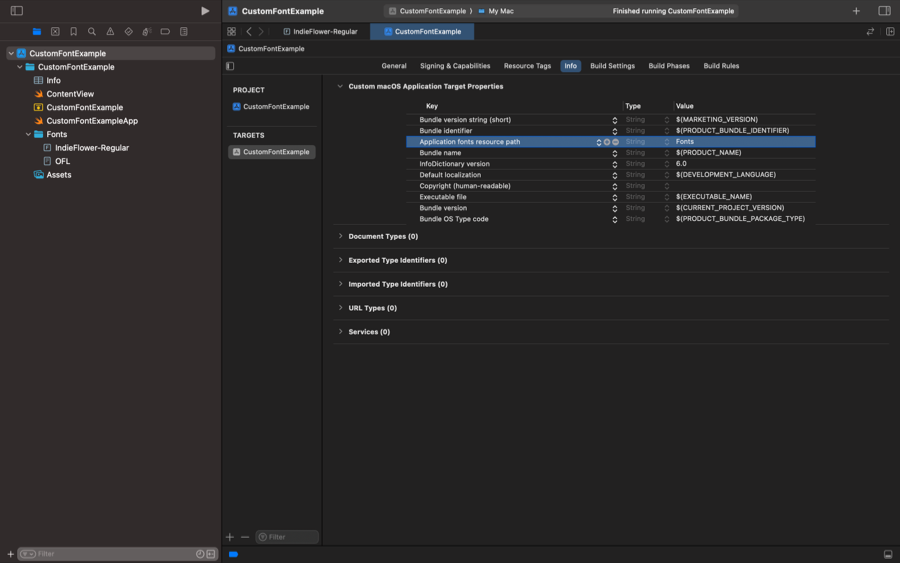
The final step is to tell the system where to find the font. We do this by adding the ATSApplicationFontsPath key to the Info.plist file and setting its value to the path of the font files relative to the Resources folder. In our case, the value will simply be Fonts.
# Load custom font and apply it to text
At this point, the font is embedded in the app bundle and registered with the system, so we can start using it in code. The way we reference it is by name, the same name that’s defined inside the font file itself, not necessarily the file name.
To load the custom font in AppKit, we can use the NSFont(name:size:) initializer:
let font = NSFont(name: "IndieFlower", size: 28)!
In SwiftUI, we can initialize a custom font using the Font.custom(_:size:) method and apply it to a Text view using the font(_:) modifier:
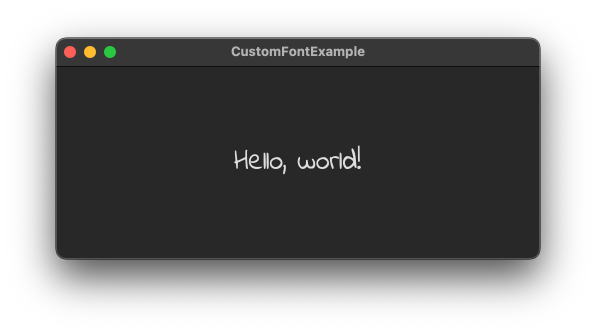
Text("Hello, world!")
    .font(.custom("IndieFlower", size: 28))
If you're using SwiftUI in your projects and want to get a more thorough grasp of the framework, my new book SwiftUI Fundamentals takes an in-depth look at the framework’s core principles and APIs to help you understand how it works under the hood and how to use it effectively in your projects.
For more resources on Swift and SwiftUI, check out my other books and book bundles.


Deepen your understanding of SwiftUI!$35
The essential guide to SwiftUI core concepts and APIs
SwiftUI Fundamentals
- Explore the key APIs and design patterns that form the foundation of SwiftUI
- Develop a deep, practical understanding of how SwiftUI works under the hood
- Learn from a former Apple engineer who worked on widely used SwiftUI APIs
Deepen your understanding of SwiftUI!
The essential guide to SwiftUI core concepts and APIs
SwiftUI Fundamentals