Programmatically hide and show sidebar in split view
In iOS 16 and macOS 13 we have a new NavigationSplitView container in SwiftUI for defining multicolumn navigation. This API allows us to programmatically control visibility of the leading columns, which we couldn't do before.
NavigationSplitView accepts a columnVisibility parameter with a value of type NavigationSplitViewVisibility. It lets us specify what columns we would like to show.
In three-column navigation we have control over the sidebar and the middle column and in two-column navigation we can control the sidebar.
In this article we'll be looking into how to programmatically hide and show the sidebar in two-column navigation.
In iPadOS 16 and macOS 13 we are provided a button that toggles sidebar visibility. This button is automatically added to our app when we define a split view. Users can tap the button to hide and show the sidebar depending on their needs. But there can be various reasons to have programmatic control over its visibility.
Imagine we are building an HTTP client. Users can create requests with URLs that are added to the sidebar. In the detail view they can edit and send the request and browse HTTP exchange. They can also delete the currently selected request.
If the sidebar is hidden when selected request is deleted, it would be nice to show it, so that users can select a different request or add a new one from the sidebar.
Other scenarios could be related to users pressing a shortcut to activate search in the sidebar, for example.
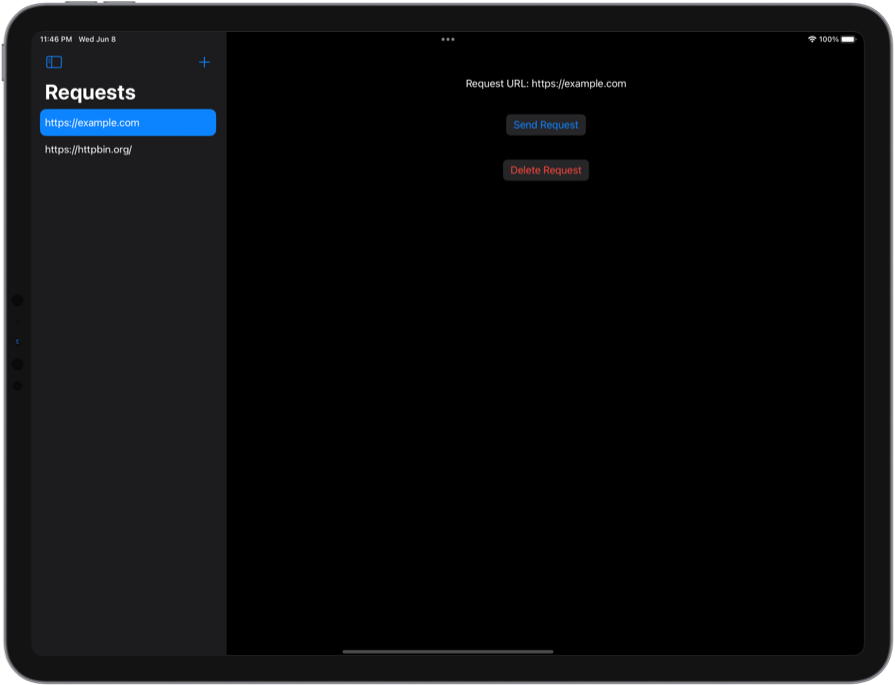
Here is how our extra simplified interface might look when a request is selected and sidebar is visible.


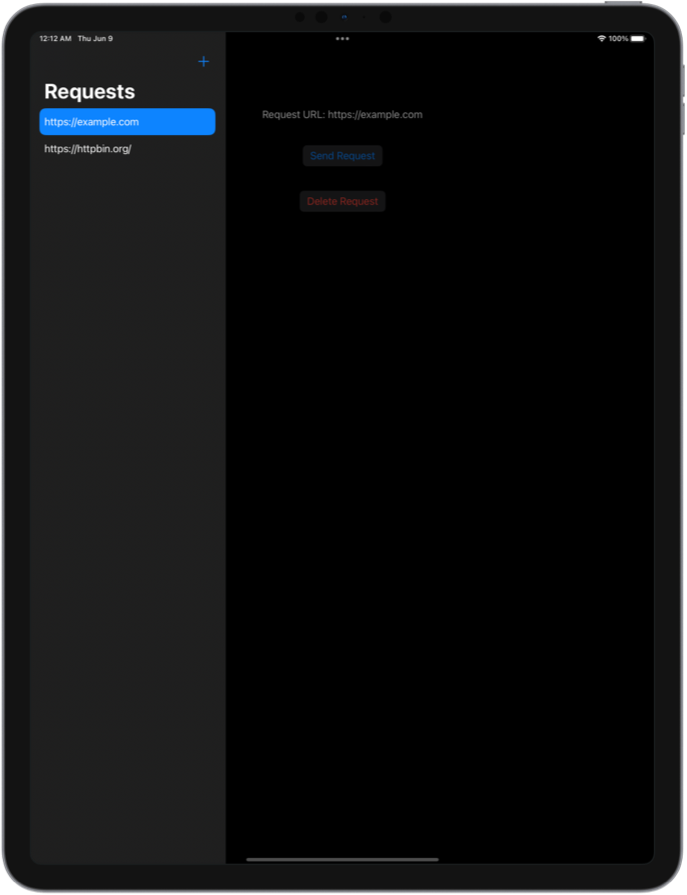
Users might hide the sidebar while interacting with the request detail to get more space. If they delete the request in the end, we will show the sidebar for their convenience.
To get it done in code, we need to define a NavigationSplitView that accepts a binding to NavigationSplitViewVisibility. We can keep it in a State variable and assign it the initial value of automatic.
struct ContentView: View {
    @State private var columnVisibility = NavigationSplitViewVisibility.automatic
    ...

    var body: some View {
        NavigationSplitView(columnVisibility: $columnVisibility) {
            ...
        } detail: {
            ...
        }
    }
}
When selected request is deleted, we'll set columnVisibility to all to ensure that the sidebar becomes visible.
Button("Delete Request", role: .destructive) {
    ... // delete request here

    columnVisibility = .all
}
If we needed to programmatically hide the sidebar, we would assign columnVisibility to detailOnly. This value hides the sidebar in two-column navigation like our example and hides the two leading columns in three-column navigation.
Here is the full sample code that you can copy-paste, build and play around with.
struct ContentView: View {
    @State private var selectedRequest: Request?
    @State private var requests = [
        Request(url: "https://example.com"),
        Request(url: "https://httpbin.org/")
    ]

    @State private var columnVisibility = NavigationSplitViewVisibility.automatic

    var body: some View {
        NavigationSplitView(columnVisibility: $columnVisibility) {
            List(
                requests,
                selection: $selectedRequest
            ) { request in
                NavigationLink(request.url, value: request)
            }
            .navigationTitle("Requests")
            .toolbar {
                Button.init(action: {
                    // add request here
                }) {
                    Label("Add Request", systemImage: "plus")
                }
            }
        } detail: {
            ZStack {
                if let request = selectedRequest {
                    VStack(spacing: 40) {
                        Text("Request URL: \(request.url)")
                        Button("Send Request") {
                            // send request here
                        }
                        Button("Delete Request", role: .destructive) {
                            requests.removeAll { $0.id == request.id }
                            selectedRequest = nil

                            columnVisibility = .all
                        }
                        Spacer()
                    }
                    .buttonStyle(.bordered)
                } else {
                    Text("Nothing Selected")
                }
            }
        }
    }
}

struct Request: Identifiable, Hashable {
    let id = UUID()
    let url: String
}


