Overview of the new SwiftUI navigation APIs
SwiftUI has brand new navigation APIs in iOS 16 and macOS 13. They allow us to define stack-based navigation and multicolumn navigation.
# NavigationStack
Stack-based navigation consists of a root view that can have additional views "pushed" on top of it, creating a stack. We would usually use this type of navigation for apps that run on iPhone.
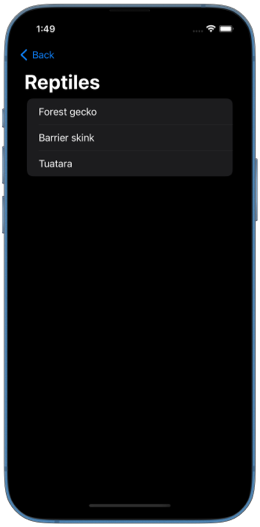
Let's say we would like to have an app that shows groups of New Zealand native animals. We can click on a group in the list and it takes us to its associated detail page showing animals in the group.
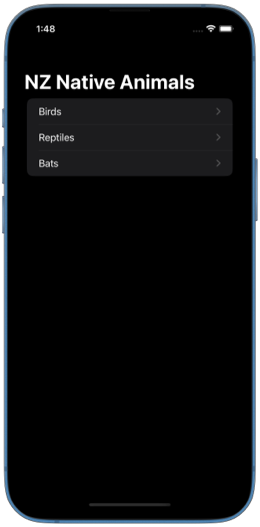
To define such navigation, we start with a NavigationStack and a List view inside it. Each row in the List is a NavigationLink that pushes an inline view onto the stack.
NavigationStack {
    List(groups) { group in
        NavigationLink(group.name) {
            AnimalGroupView(group: group)
        }
    }
}
This is the simplest way to define a NavigationStack and navigation links. Links with inline views are triggered when the user taps on them. They cannot be activated programmatically. This also means that we can't implement state restoration in this case.
You can find the complete code example for NavigationStack on GitHub.
# Programmatic navigation in NavigationStack
If we want to implement programmatic navigation, we first need to reach out for another type of links. We can define links that push data onto the stack instead of an inline view. Destination views for links are then declared inside navigationDestination() modifier.
The data that we are going to push onto the stack will be an animal group id. For that, we'll refactor our AnimalGroupView from previous example to accept a group id instead of a group.
NavigationStack {
    List(groups) { group in
        NavigationLink(group.name, value: group.id)
    }
    .navigationDestination(
        for: AnimalGroup.ID.self
    ) { groupId in
        AnimalGroupView(groupId: groupId)
    }
}
SwiftUI uses the type of the presented value to pick the appropriate destination view. In our case we only have one type of destination that accepts one type of data AnimalGroup.ID, but we could add more navigationDestination() modifiers if we had more destination types.
Once we set up navigation links presenting data, we can look into adding programmatic navigation. To do so, we first create a State variable that holds a navigation path, and pass a binding to it to NavigationStack.
NavigationStack can accept bindings of two types: a Collection or a NavigationPath.
The easiest one to work with is an Array path, it can be used for homogeneous navigation state, where all elements are of the same type. You can see what other collection types are accepted by looking at the protocols that the path has to conform in the NavigationStack initializer.
The data that navigation links push to the stack, the data that navigation destinations present and the elements in the navigation path all have to be of the same type.
We use AnimalGroup.ID as the data type to push to the stack and as elements of the path. Here we can programmatically control the path by providing a default value to it.
struct AnimalGroupsView: View {
    var groups: [AnimalGroup]

    @State private var path: [AnimalGroup.ID] = ["Birds"]

    var body: some View {
        NavigationStack(path: $path) {
            List(groups) { group in
                NavigationLink(group.name, value: group.id)
            }
            .navigationDestination(
                for: AnimalGroup.ID.self
            ) { groupId in
                AnimalGroupView(groupId: groupId)
            }
        }
    }
}
We could also manipulate the navigation state by appending elements to the path Array or by removing elements from it.
Note, that we should add navigationDestination() modifier as high as possible in our hierarchy, so that it's already processed by SwiftUI when we manipulate the navigation state. Otherwise, SwiftUI won't be able to match the destinations to the elements in the path. For example, if we had a long list of groups where users would need to scroll to see all of them, and we attached navigationDestination() to one of the hidden rows, then SwiftUI would only be able to properly match the destination when that row becomes visible on screen.
You can find the code example for programmatic NavigationStack on GitHub.
There is another type of path that NavigationStack can accept. It's a path that can contain elements of different types for more advanced use cases. You can read more about in documentation for NavigationPath. We can look into it in detail in a future post.
# NavigationSplitView
When we want our app to support iPad or Mac, we should look into implementing multicolumn navigation. In this type of navigation, we usually have a sidebar on the left where the user can select items to be shown in the detail view on the right.
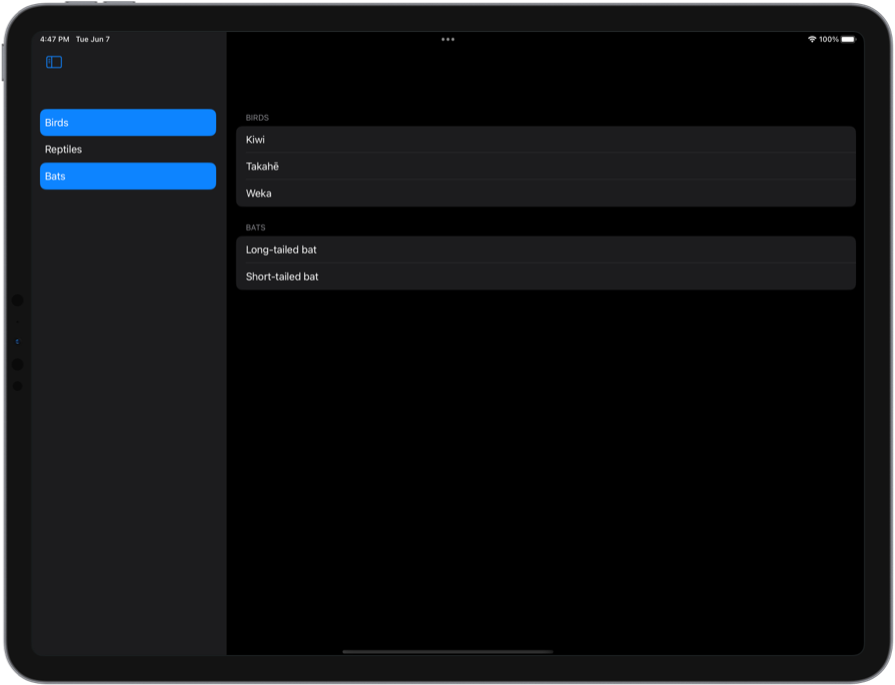
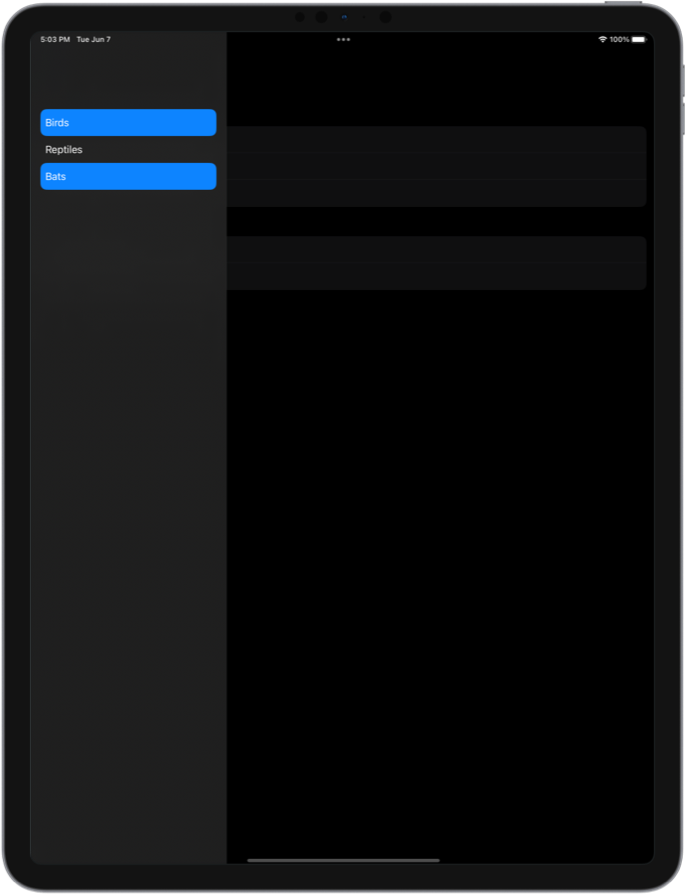
To define multicolumn navigation with the new SwiftUI APIs, we use NavigationSplitView.
For navigation in NavigationSplitView, we rely on selection binding of List view in the sidebar. The destination views are defined in detail view builder of NavigationSplitView.
We are going to add multicolumn navigation with multi-select option in the sidebar to our New Zealand animals app.
struct AnimalGroupsView: View {
    var groups: [AnimalGroup]

    @State private var selection: Set<AnimalGroup.ID> = []

    var body: some View {
        NavigationSplitView {
            List(groups, selection: $selection) { group in
                Text(group.name)
            }
        } detail: {
            AnimalGroupsDetail(groupIds: selection)
        }
    }
}
We always control the state for NavigationSplitView, so it always supports programmatic navigation. We can manipulate the selection state and it will get reflected in the sidebar and the detail view.
NavigationSplitView automatically adapts into a navigation stack on iPhone and in compact horizontal size class on iPad. I noticed that while we don't have to put navigation links in the list rows and just use plain Text views how it's shown in NavigationSplitView documentation examples, it won't clear the selected background from rows when the user presses the back button on iPhone. Wrapping the rows into navigation links fixes this issue, but breaks the multi-select on iPad. Hopefully, selection behavior will become more predictable as we progress through the beta period.
You can find the code example for NavigationSplitView on GitHub.
# Three columns in NavigationSplitView
So far we've only looked at how to have two columns in NavigationSplitView: sidebar and detail column. But we can also show three columns if we need to.
For example, in our New Zealand animals app, we can have a list of groups in the sidebar, a list of animals in the second column and information about the animal in the third column.
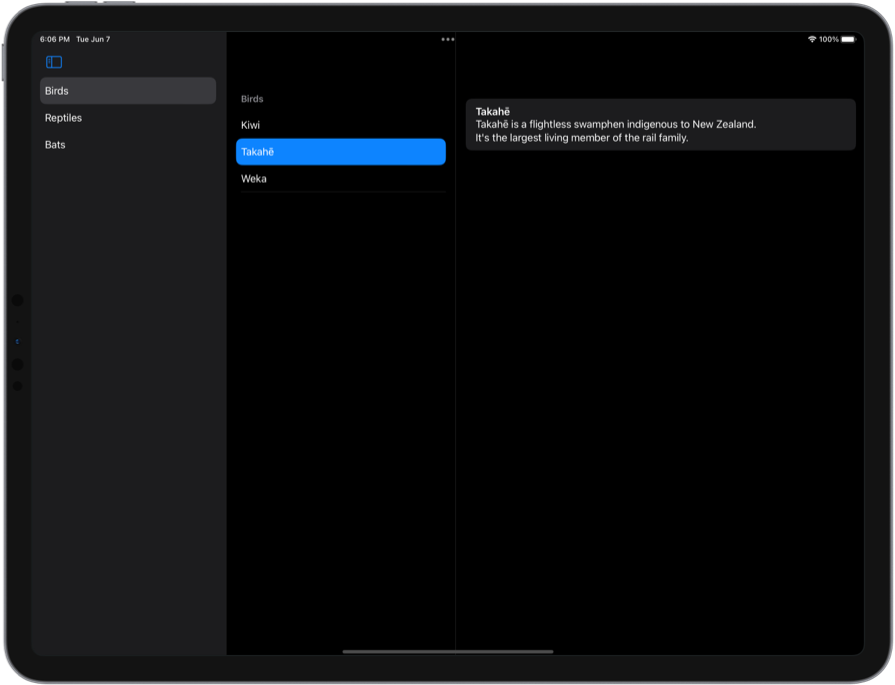
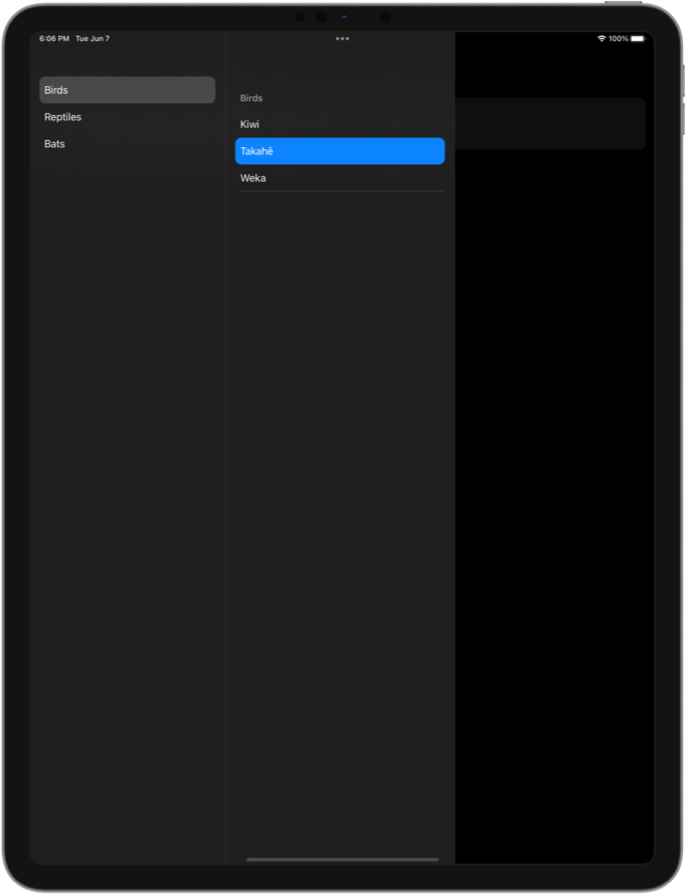
To support three-column navigation we use NavigationSplitView with content view for the second column and detail view for the third column.
struct AnimalGroupsView: View {
    var groups: [AnimalGroup]

    @State private var groupIds: Set<AnimalGroup.ID> = []
    @State private var animalIds: Set<Animal.ID> = []

    var body: some View {
        NavigationSplitView {
            List(groups, selection: $groupIds) { group in
                Text(group.name)
            }
        } content: {
            AnimalGroupsDetail(groupIds: groupIds, animalIds: $animalIds)
        } detail: {
            AnimalsDetail(animalIds: animalIds)
        }
    }
}
I tried following the example from NavigationSplitView documentation with if let inside the content view, but it didn't work for me. The selection never updated. Later I saw that it's a known issue mentioned in SwiftUI release notes. I made an example with multi-select in both sidebar and content columns to avoid the issue, but release notes also mention that we can wrap the contents of the column in a ZStack as a workaround, if we want to have conditional statements.
You can find the code example for three-column NavigationSplitView on GitHub.
The new SwiftUI navigation APIs are looking promising, and I'm looking forward to experimenting more with them. In future posts we'll look into adding customizations to the split view columns and implementing state restoration.
All the code examples for this post are available on GitHub.


